To complete these weeks arduino tasks
Finalise concept's inputs and outputs fully
Make a start on building the final model for the exhibition
Achievements:
Outputs and inputs finalised
The deconstruction of more products
What we did:
We started off in the workshop and deconstructed the 3 new products that we had.
1. Toy tank
2. Toy plane
3. Plane's controller
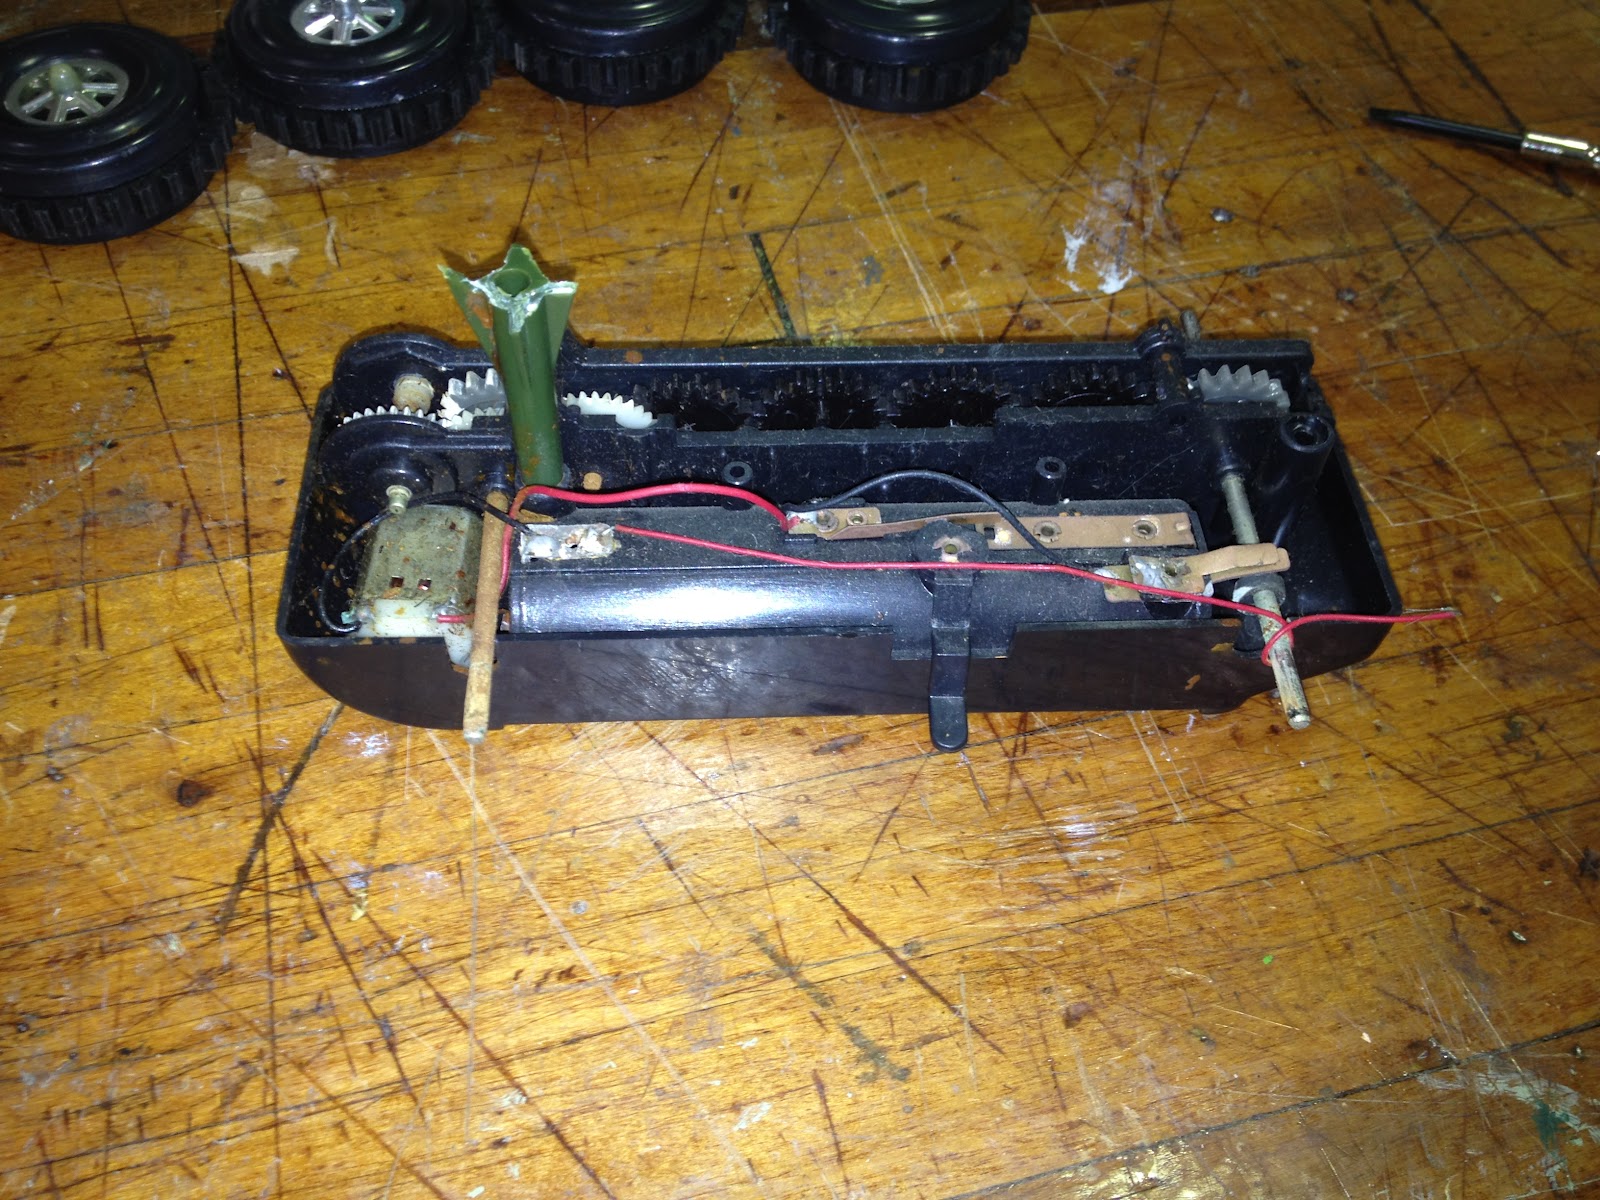


These items gave us these new parts to work with:
1. Working set of cogs
2. A small motor
3. Wheels
4. 2 propellers
5. Small battery (flat)
6. 2 thumb controllers
7. Red and green LEDs
After these deconstructions we thought it would be time to start working on our model for next week. Our finalised concept required using an electric thermometer that could be left inside a bowl of melting chocolate, which could be connected to arduino to communicate the temperature. We thought we had this thermometer device available to borrow from Yasu, so I went to see him to borrow one out for us.
 |
| Thermistor- a pin used to sense temperature |
Firstly, we shouldn't use a digital thermometer as they are quite tricky to use. Instead we should use an analogue one, which turns out to already be in our pack! (See picture) However, the problem with this was, this piece is directly connected to the breadboard. Which is not exactly what we had envisioned. It can be used the measure the temperature of the air around it, or the temperature of something touching it. The temperature is not recognised immediately, it would take a little while until it was read completely. This pin was not ideal for the concept we had developed. The pin would be so close to the board that it could not sit inside a bowl of chocolate (unless we soldered them to make them longer). Also, Yasu told me it would not work with chocolate, as this would ruin the circuit. However, water could be used as it conducts electricity. This would mean we would either have to; change our concept slightly so that it incorporated water instead, or simply just use water for presentations sake and just convey the function with a different substance.
In the end we decided we did not want to compromise the concept or the presentation and thought we could try buying a battery run thermometer and take it part like what we had been doing to all the other products. From here we could try and connect it up to the rest of the circuit.
So we took a quick excursion to the city and found a cooking thermometer that we thought might just do the job. The man at the shop warned us to be careful when taking it apart in case the wires became detached. But this would not be a major concern as we could just solder them back on if that happened.
So the thermometer was taken apart successfully, and much quicker and easier than expected.

The sequence of inputs and outputs have been finalised to fit in with our narrative. We have 3 different outputs (fan, vibrator and speaker) and one input (the digital thermometer). Hopefully having only one input is enough. Each different output indicates the reaching of a particular temperature. As the exact temperature is very important throughout the process of tempering chocolate, our device will make the task a lot easier and increase the success with this tricky process. The image bellow shows the sequence of our device.

The first output, being the fan, does not turn on until the chocolates temperature reaches 43 degrees. The fan is felt by the cook and is recognised as the symbol to start the cooling step. Once the chocolate is cooled to 28 degrees the vibrator begins to work. Here the vibrator switches between on and off to signify the chocolate needing to be taken off the heat and stirred a few times. It is vital that the chocolate's temperature never exceeds 31 degrees after this. Once it does the alarm sounds through the speaker. This is the end of the sequence, and the result should be perfectly tempered chocolate.

Now we have to connect all of the separate elements together and program it so that it all works nicely together and does what it is supposed to do.
No comments:
Post a Comment